ENGLISH ; ESPAÑOL
INTRODUCTION
Hi!! This is a quick "TutoBlog" i guess, (is there another name for it?)... well yeah, basically Im gonna show you how a 3D massout could help you to improve your workflow and timing when you do Concept Art!!. For me one important thing once im trying to do some work is trying to keep a good time rate, Not because its very very important and th industry require it, its just more to catch a good time schedule and grab more productive practice at the end... (and because i have an horrible Attention deficit... and procrastinare habit. So i need to finish as soon as i can to jump to another Diamond, hell yeah!)
So I have some workflows that ill love to share with you...
Hola este es un tutoblog creo (hay otra manera de nombrarlo?)... bueno, básicamente voy a mostrarles como un Massout en 3D puede ayudarles para mejorar su proceso de trabajo y tiempos al momento que quieran desarrollar algo de concept art. Para mi algo muy importante es tratar de mantener un buen ritmo de trabajo. No por que la industria lo exija per se, sino mas por tienes mas disponibilidad de tiempo para practicar y ser mas productivo... (y por que tengo un horrible problema de déficit de atención y un habito de procrastinar). Entonces necesito finalizar tan rápido como sea posible para saltar a tallar un nuevo diamante!!!.
SO LET'S GET THIS DONE!...
1: 3d model: For this, you can use a kitbash or if you want to quick model. actually if you are not good on 3d software, you can use a basic cubes and cilinders base, like this project here: https://www.artstation.com/artwork/L2bllw. In this case, I create this 3D. If you want to see how i do my basic models, here's a free timelapse!! https://www.artstation.com/marketplace/p/7K11/nicolas-chacin-speed-modeling-para-creaci-n-de-massout-inicial-en-blender-2-79
1. modelo 3D: para este paso, puedes usar un Kitbash o si quieres hacer un modelado propio. De hecho si no eres bueno en un software 3D, puedes usar cubos y cilindros basicos, como en este proyecto https://www.artstation.com/artwork/L2bllw. En este caso, yo modelé este vehiculo. Si quieres ver como hago mis modelos basicos, aca hay un timelapse gratis!!! https://www.artstation.com/marketplace/p/7K11/nicolas-chacin-speed-modeling-para-creaci-n-de-massout-inicial-en-blender-2-79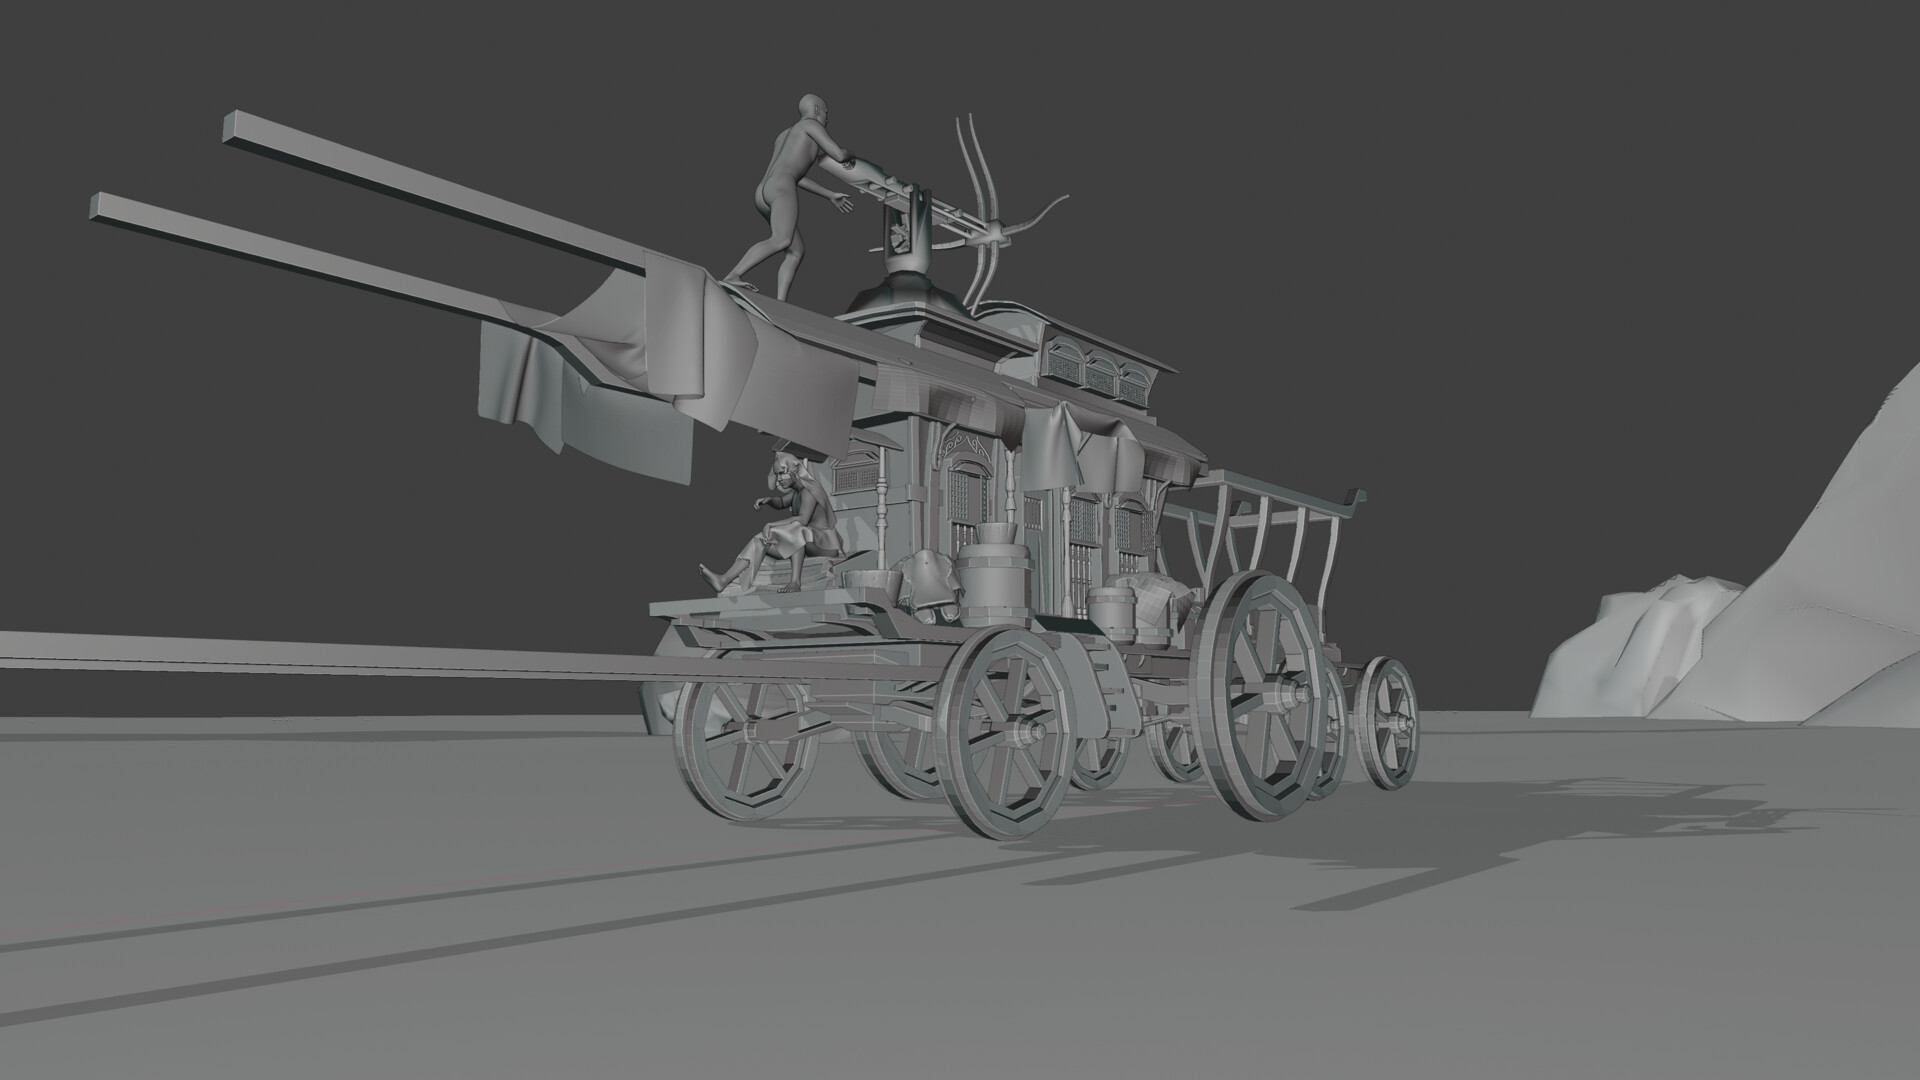
TIME TO PLAY
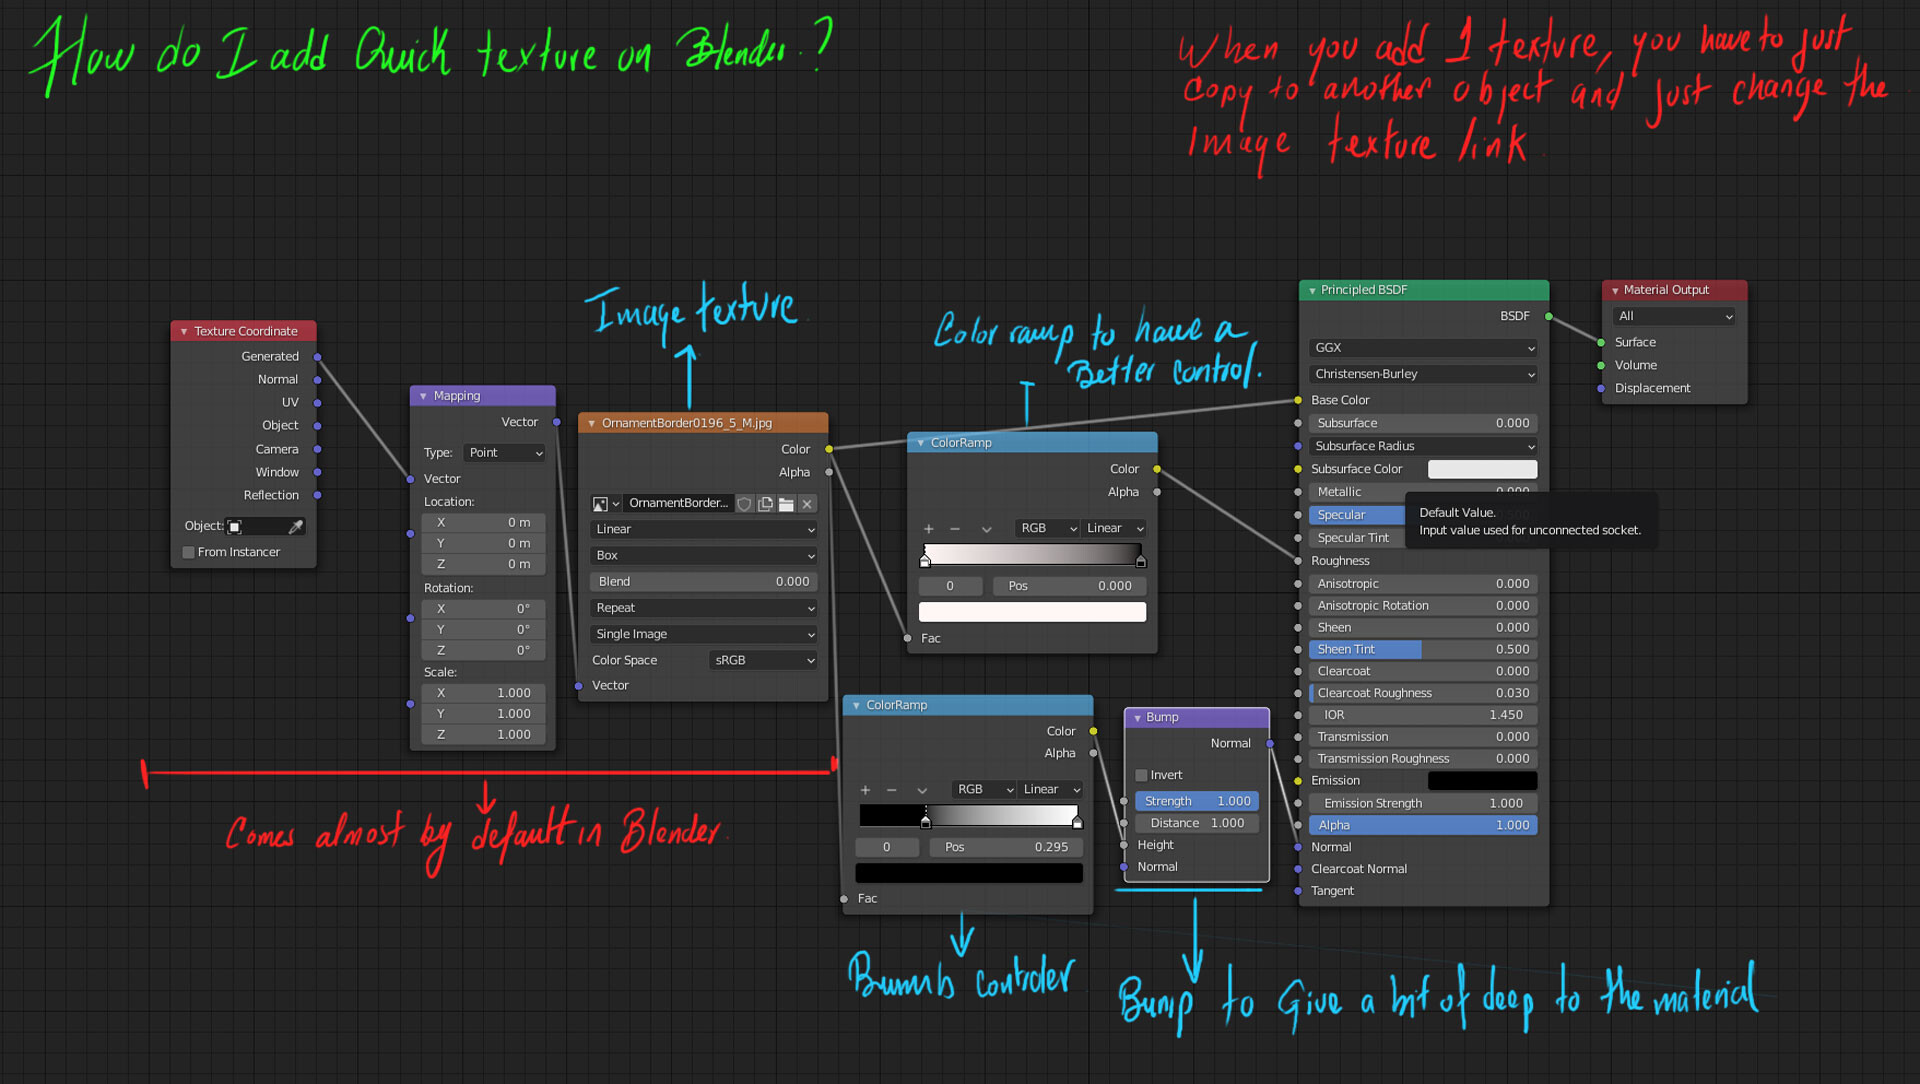
- When you have a descent model, just try to add some materials. I dont really put effort and time on that part, i usually add an image texture, almost without mapping. the idea is just to catch a color palette and a random bump that allows me to jump some painting steps. then add some light to play around with the model.
- Cuando tienes un modelo coherente, trata de agregar algunos materiales. Yo personalmente no pongo mucho esfuerzo en esa parte, normalmente agrego una imagen de textura, Casi sin hacer mucho mapping. La idea es capturar algo de paleta de color y un BUMP o "protuberancias" que me permitan saltar algunos pasos al momento de pintar de manera digital. Luego agrego algunas luces para jugar un poco con el ambiente y el modelo.
READY, SET, ACTION
- Take a good light, and put a camera that gives you a good shot!!!
- Toma una buena iluminacion y agrega una camara que te de una buena toma de tu modelo!!!!
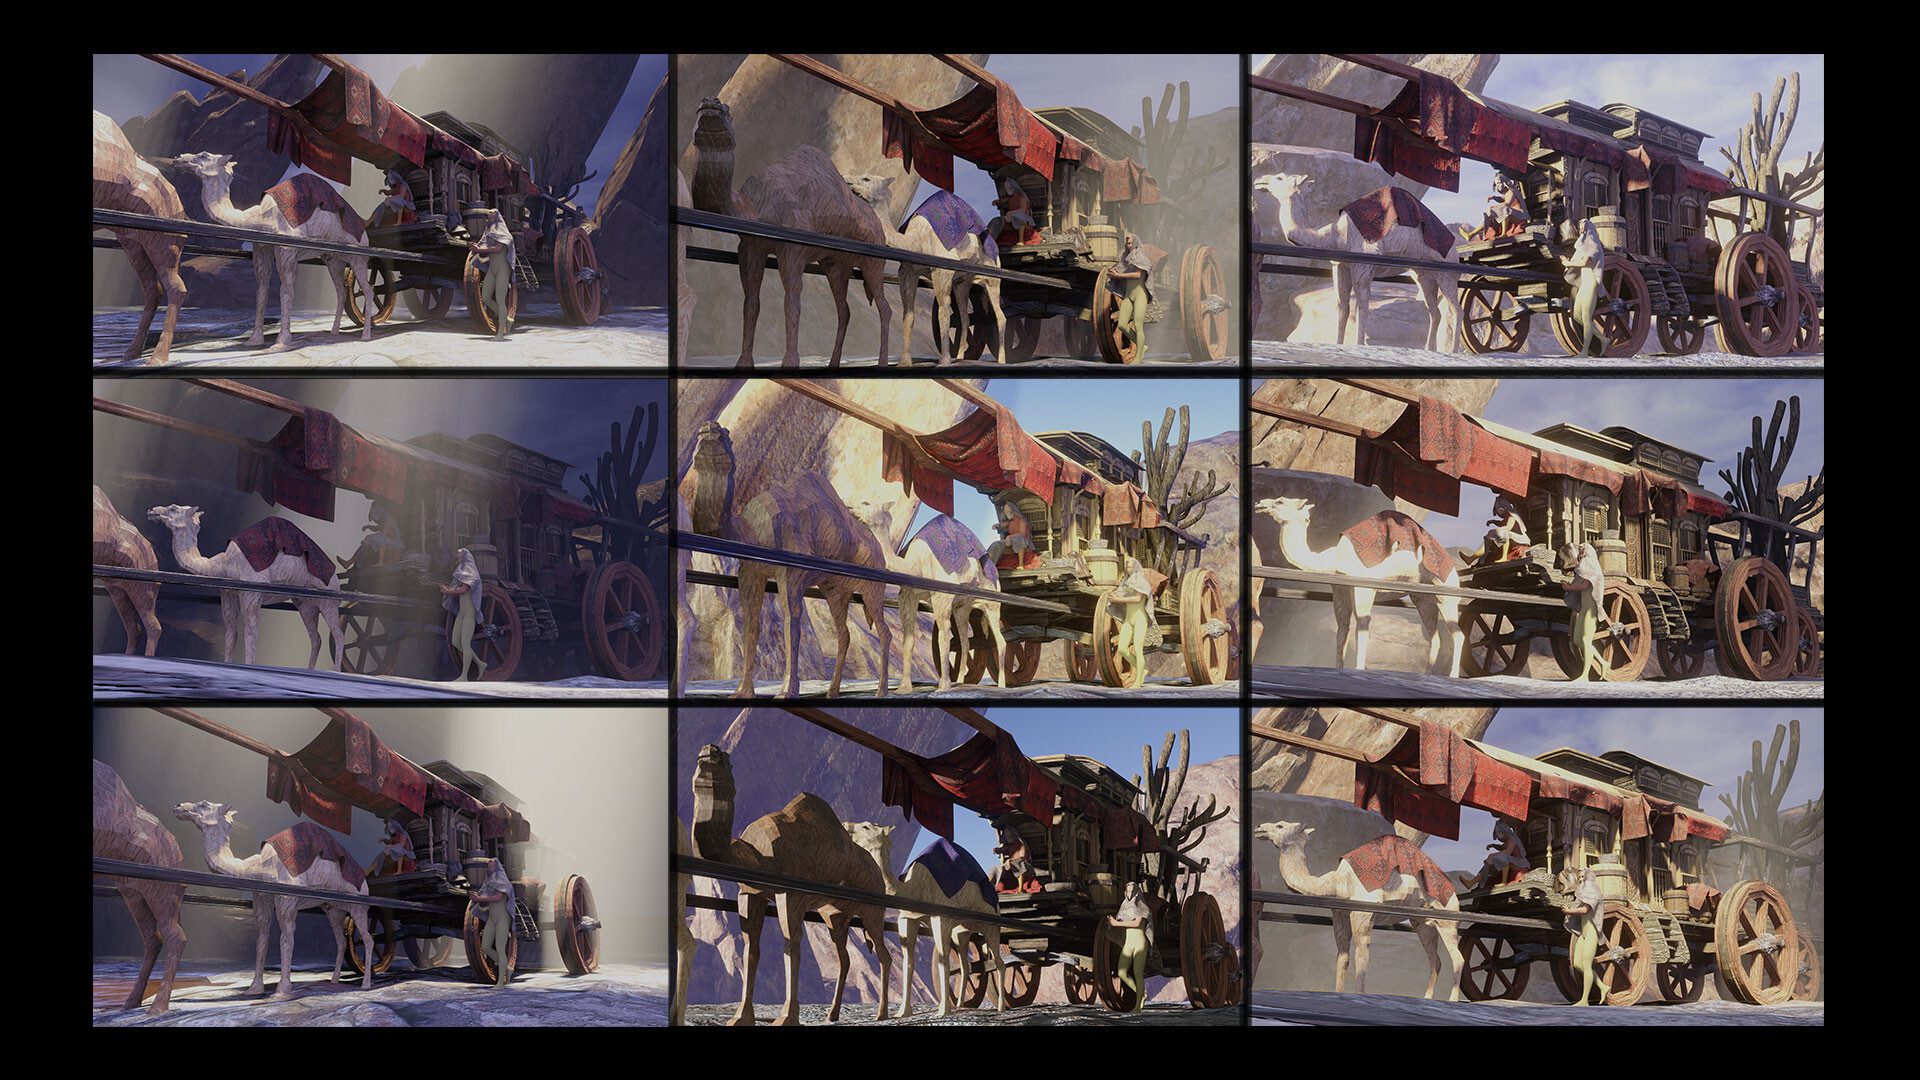
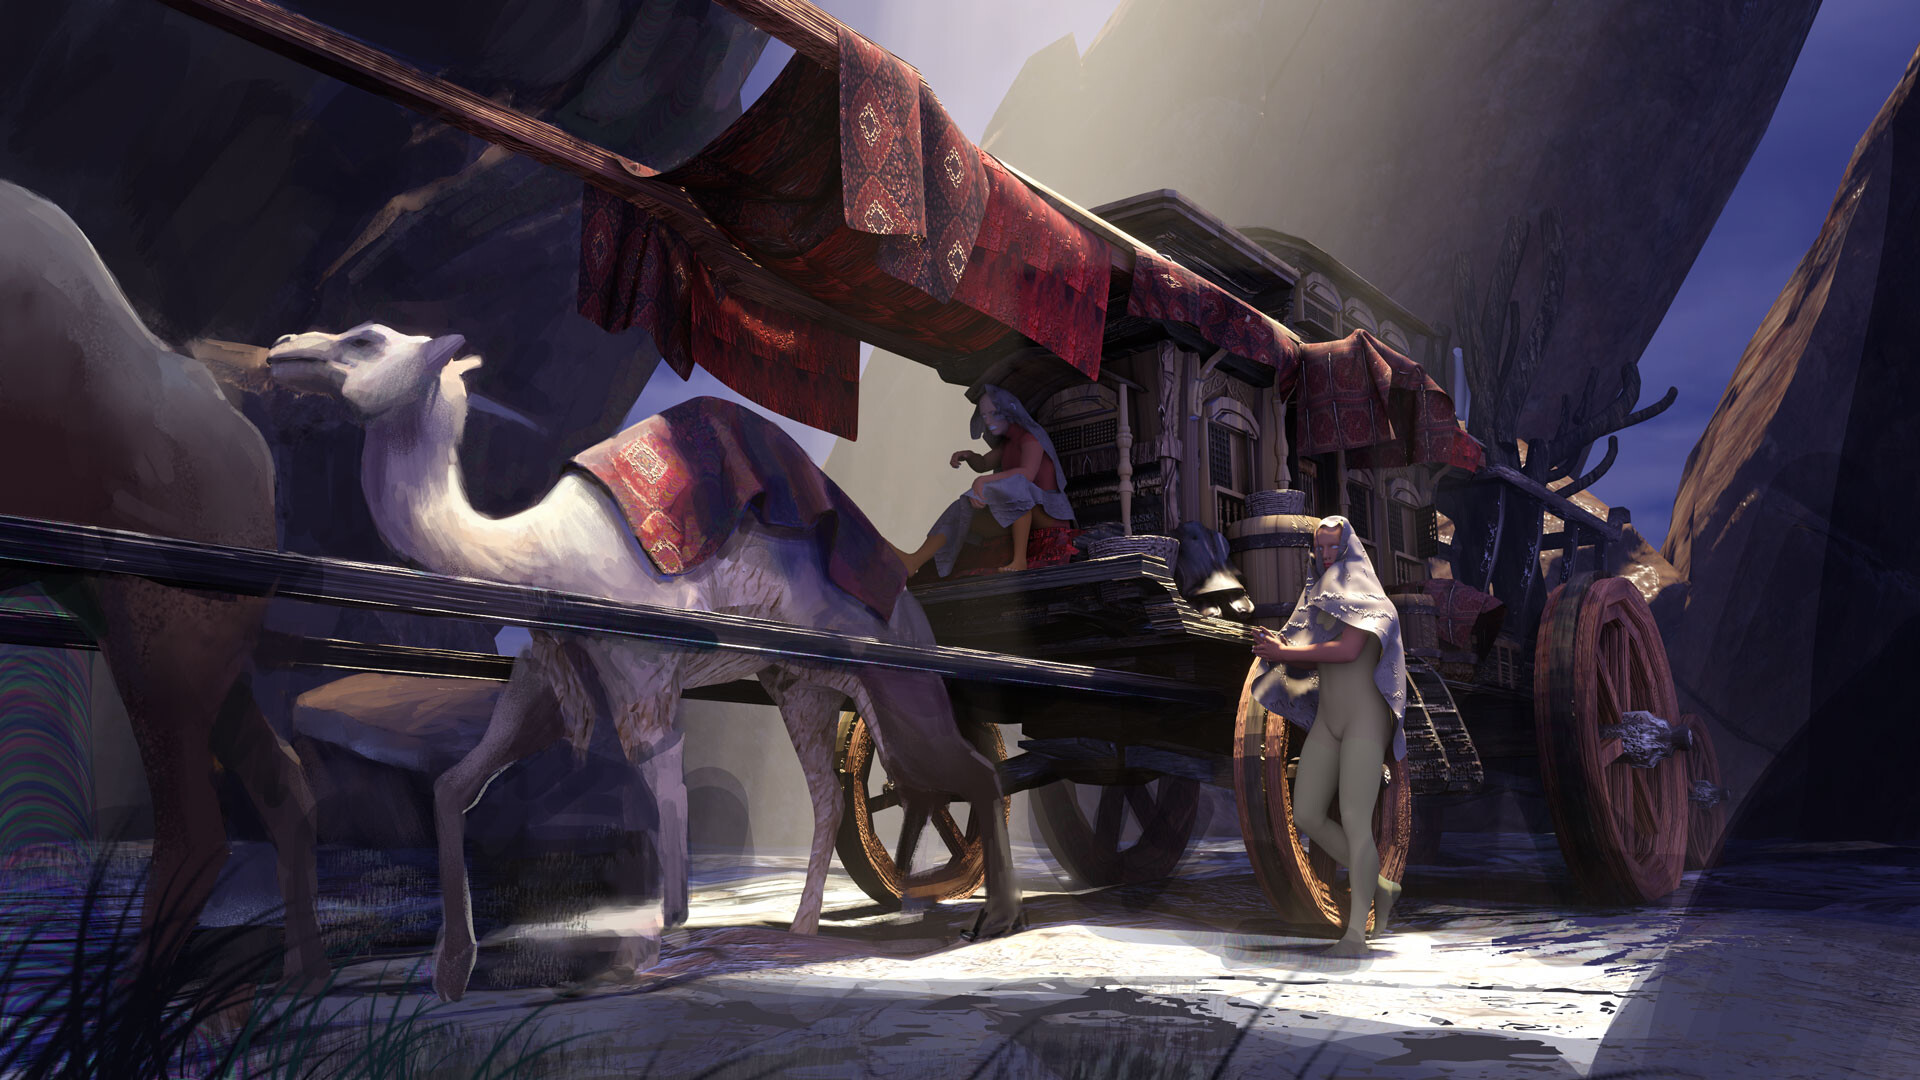
COLOR MOOD TEST!
- Try different light design and color moods!!! then choose the most interesting to work with!!!!
- Intenta con diferentes modos de luz y cambia el color de tu composición!!! luego escoge el mas interesante para empezar a trabajar con el!!!
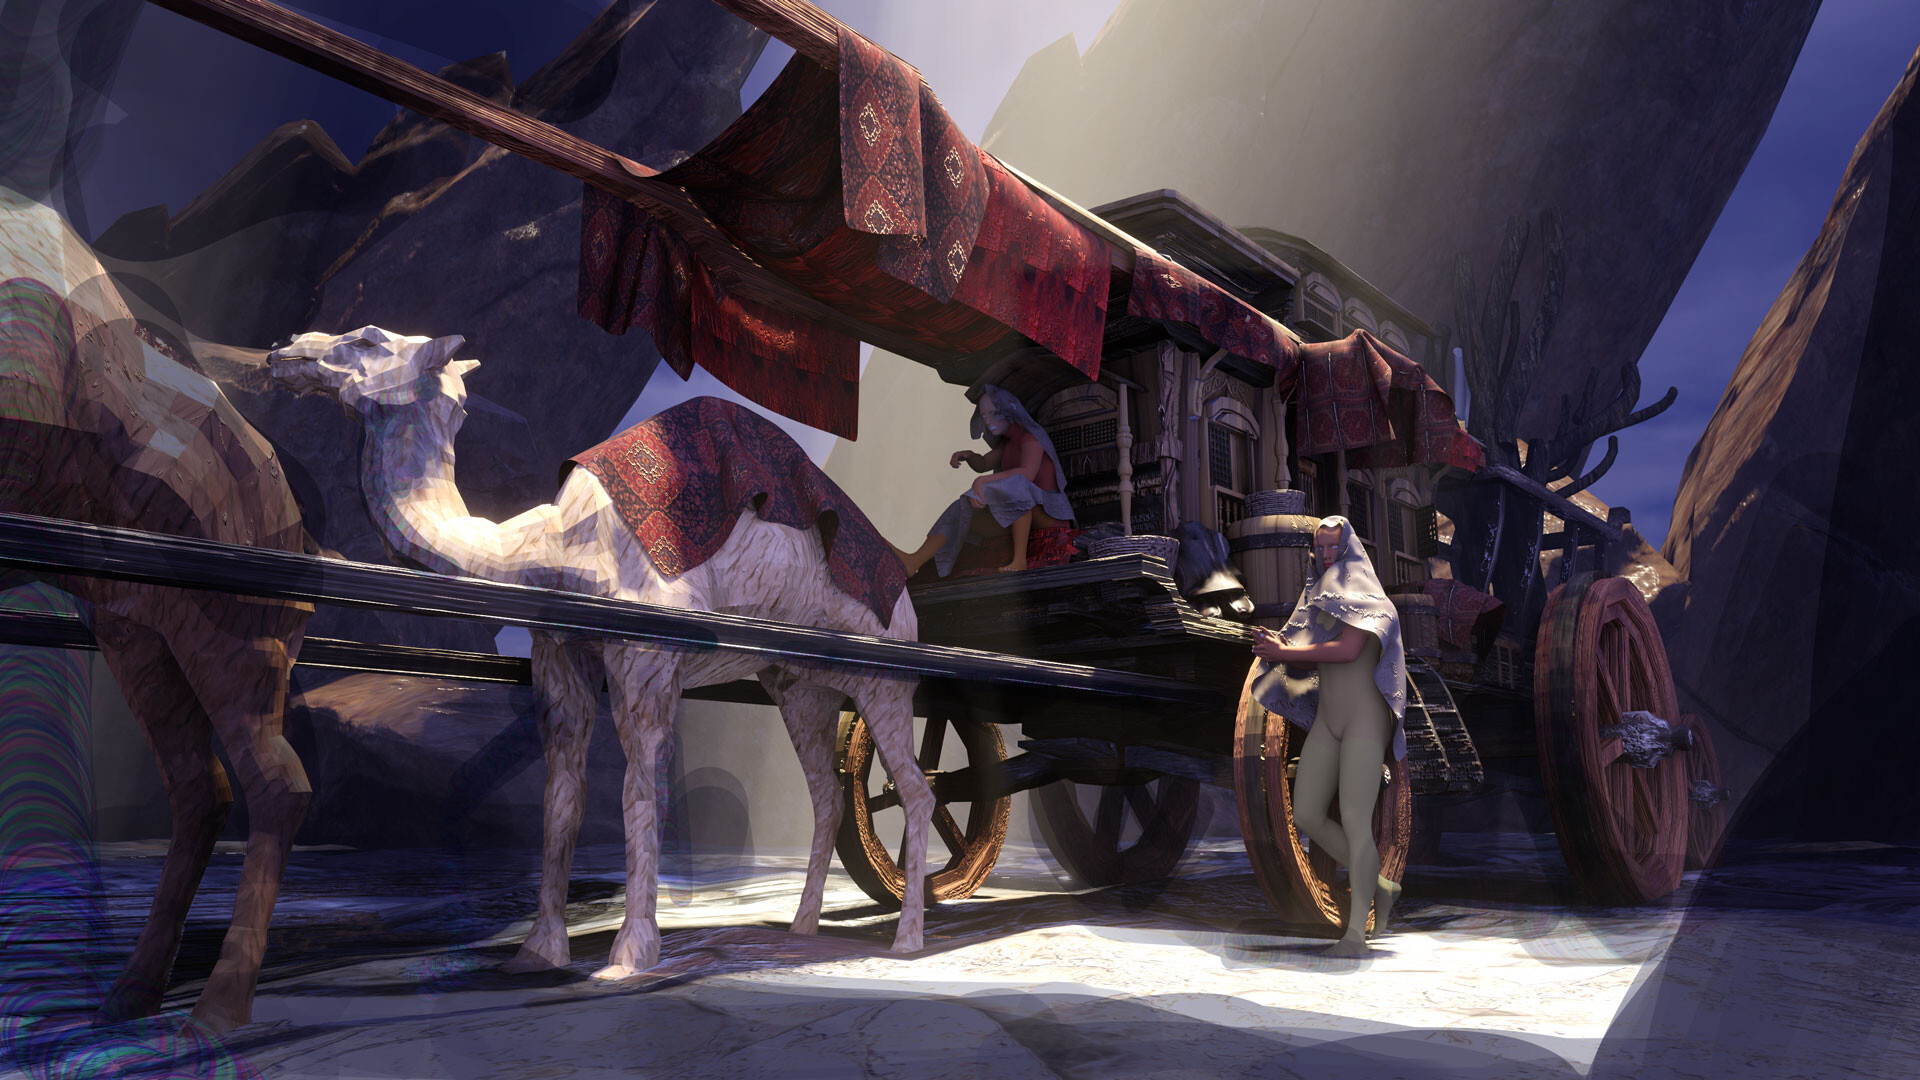
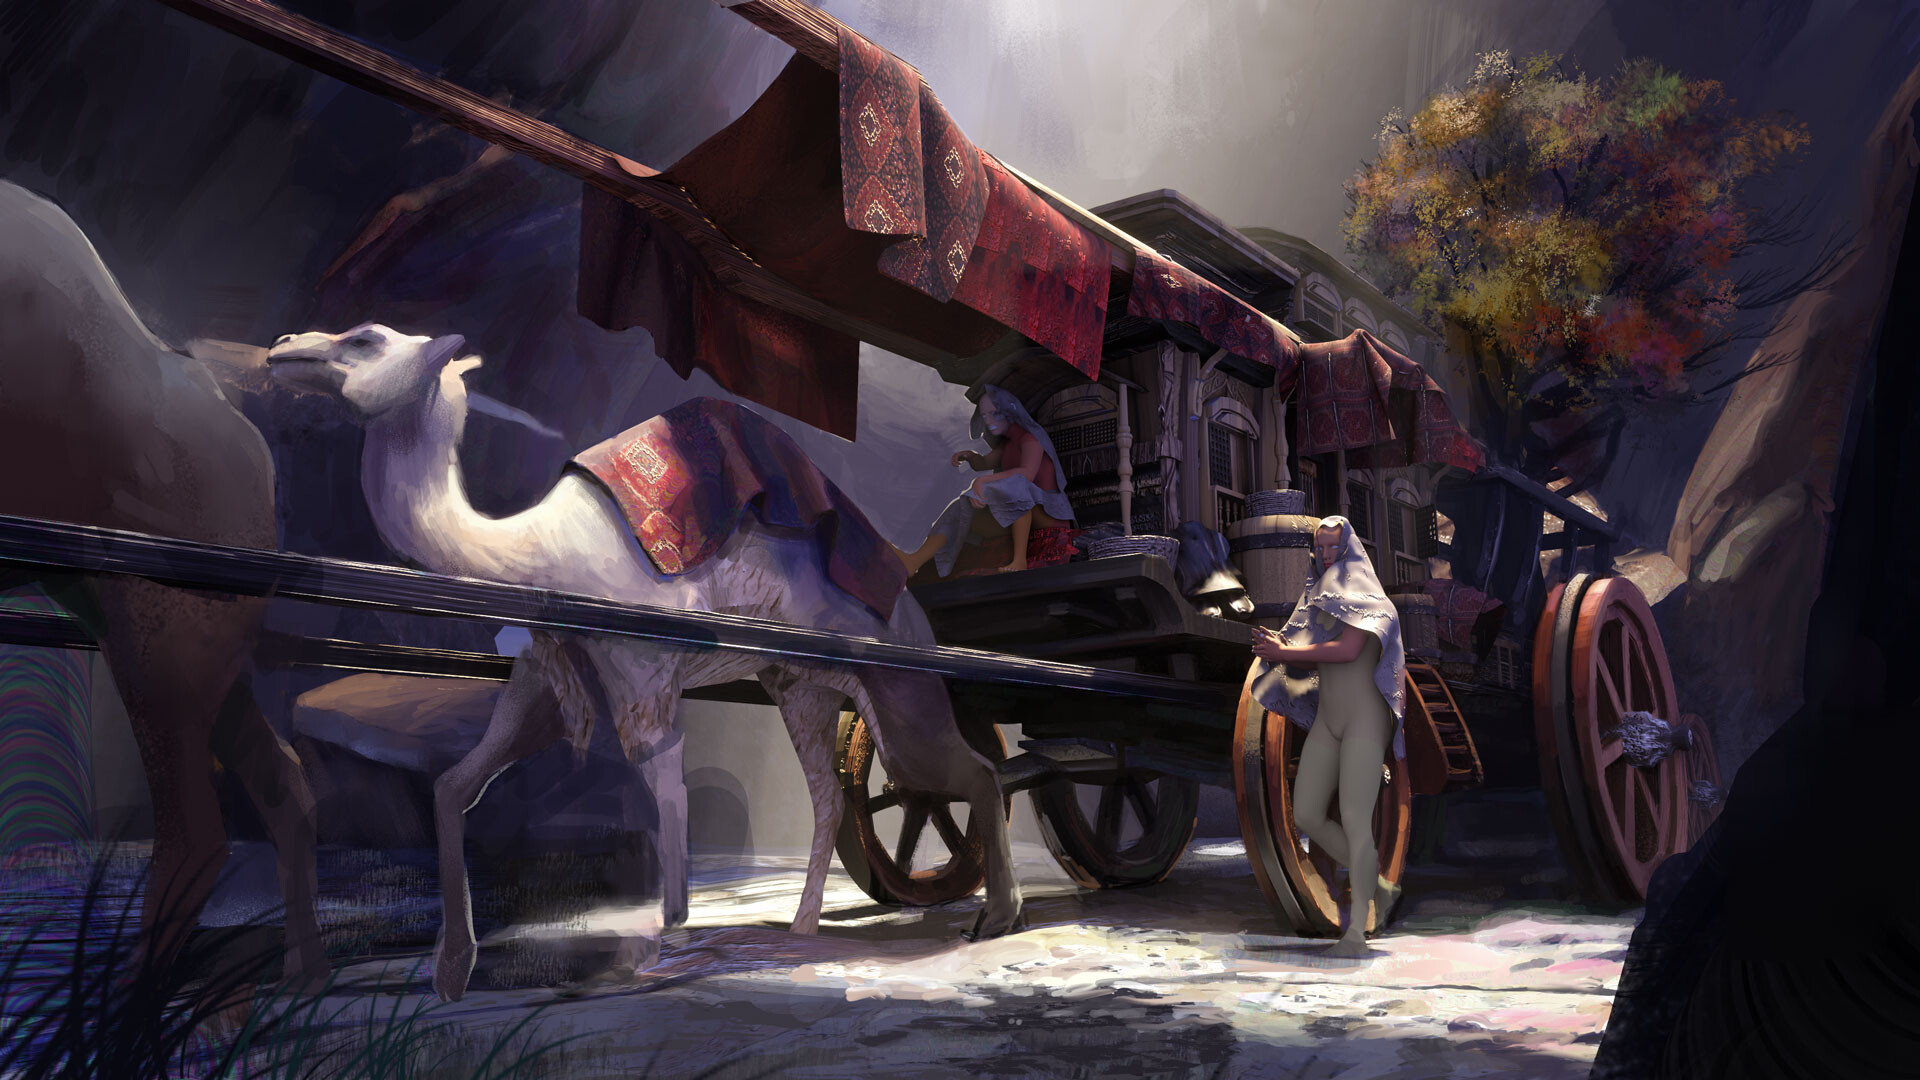
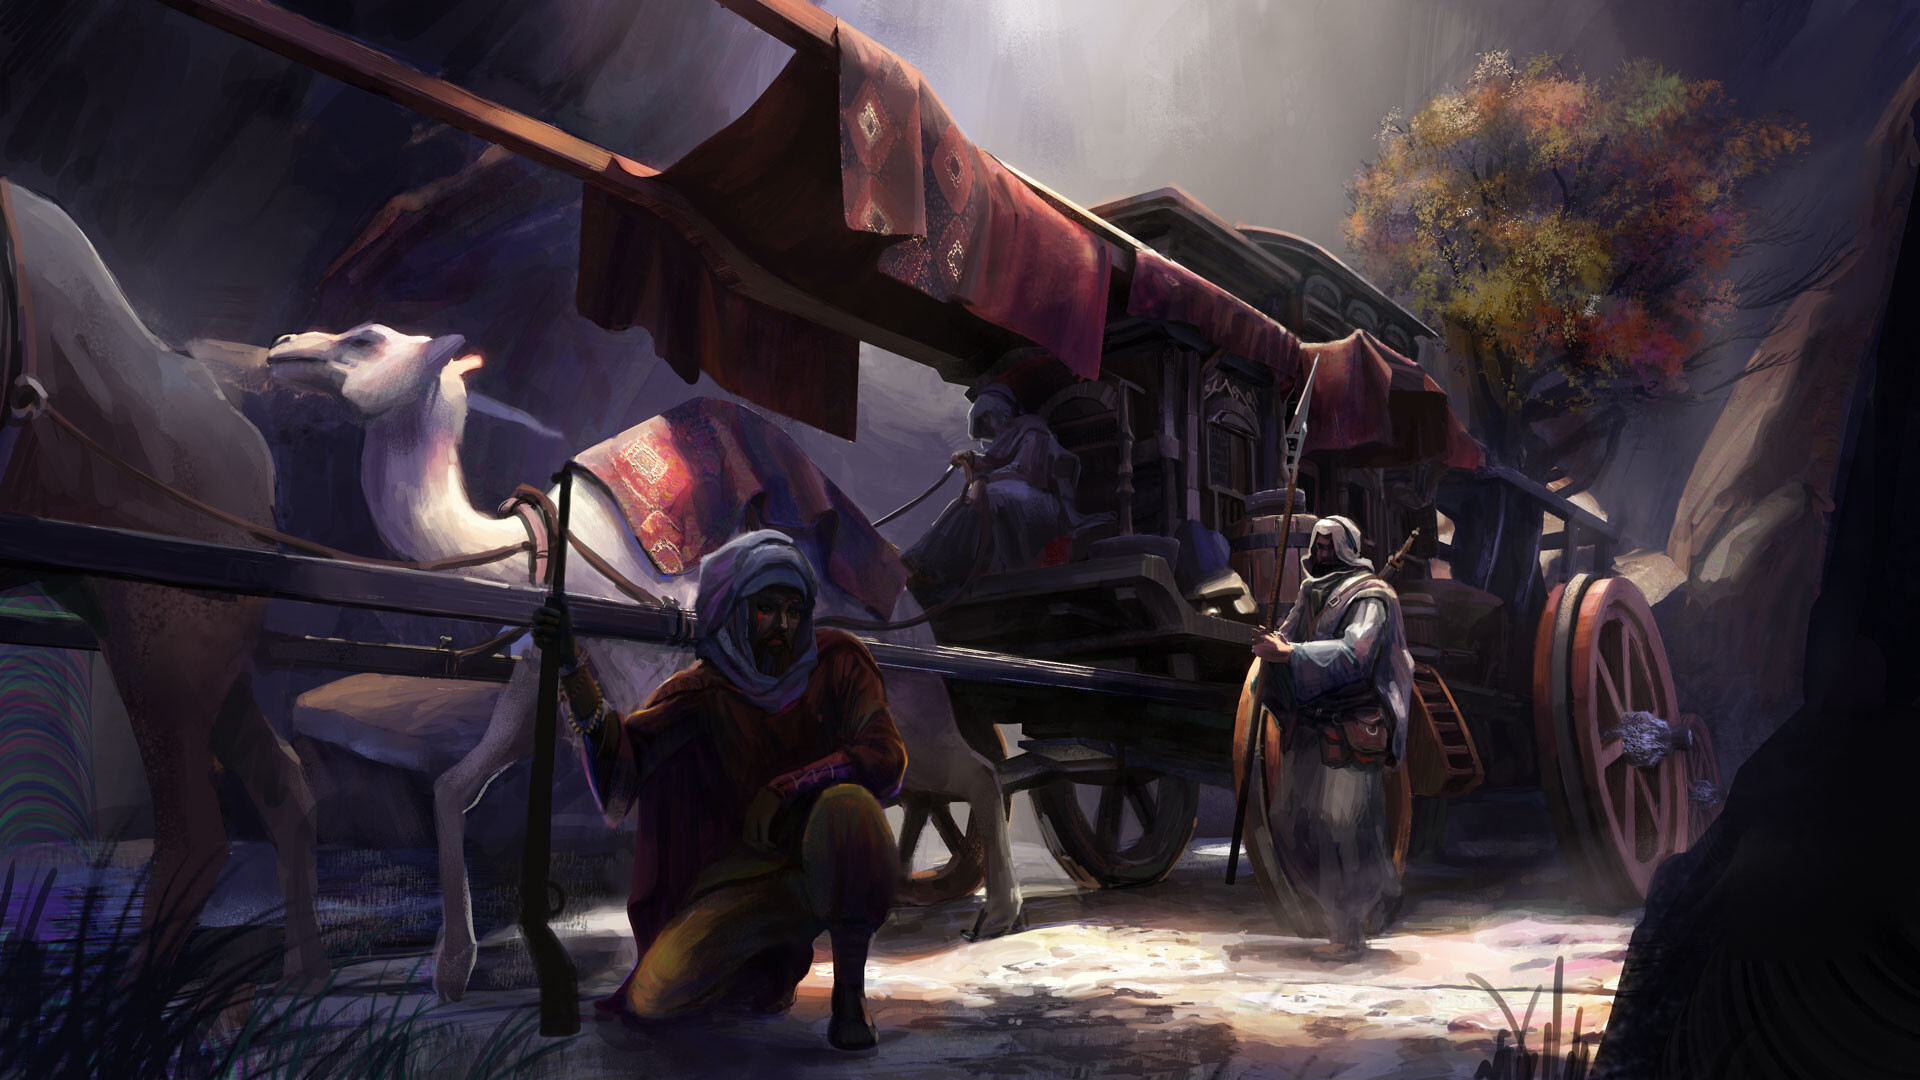
THE CHOOSEN ONE
- So I chose the first top image. So the first thing you should do is to MAKE A PLAN, do some scratches, and guide your vision of what you want to do with your image. Magic of notes!!! thrust me, it is gonna save a lot of time, instead of start painting in a random way
- Entonces escogí la imagen que esta en la parte superior izquierda. Lo primero que debes hacer es CREAR UN PLAN. has algunos bocetos y rayones, que guíen tu visión de lo que quieres hacer con tu imagen, Notas mágicas!!! créeme esta parte salvara muchísimo tiempo, en vez empezar a pintar de manera aleatoria.

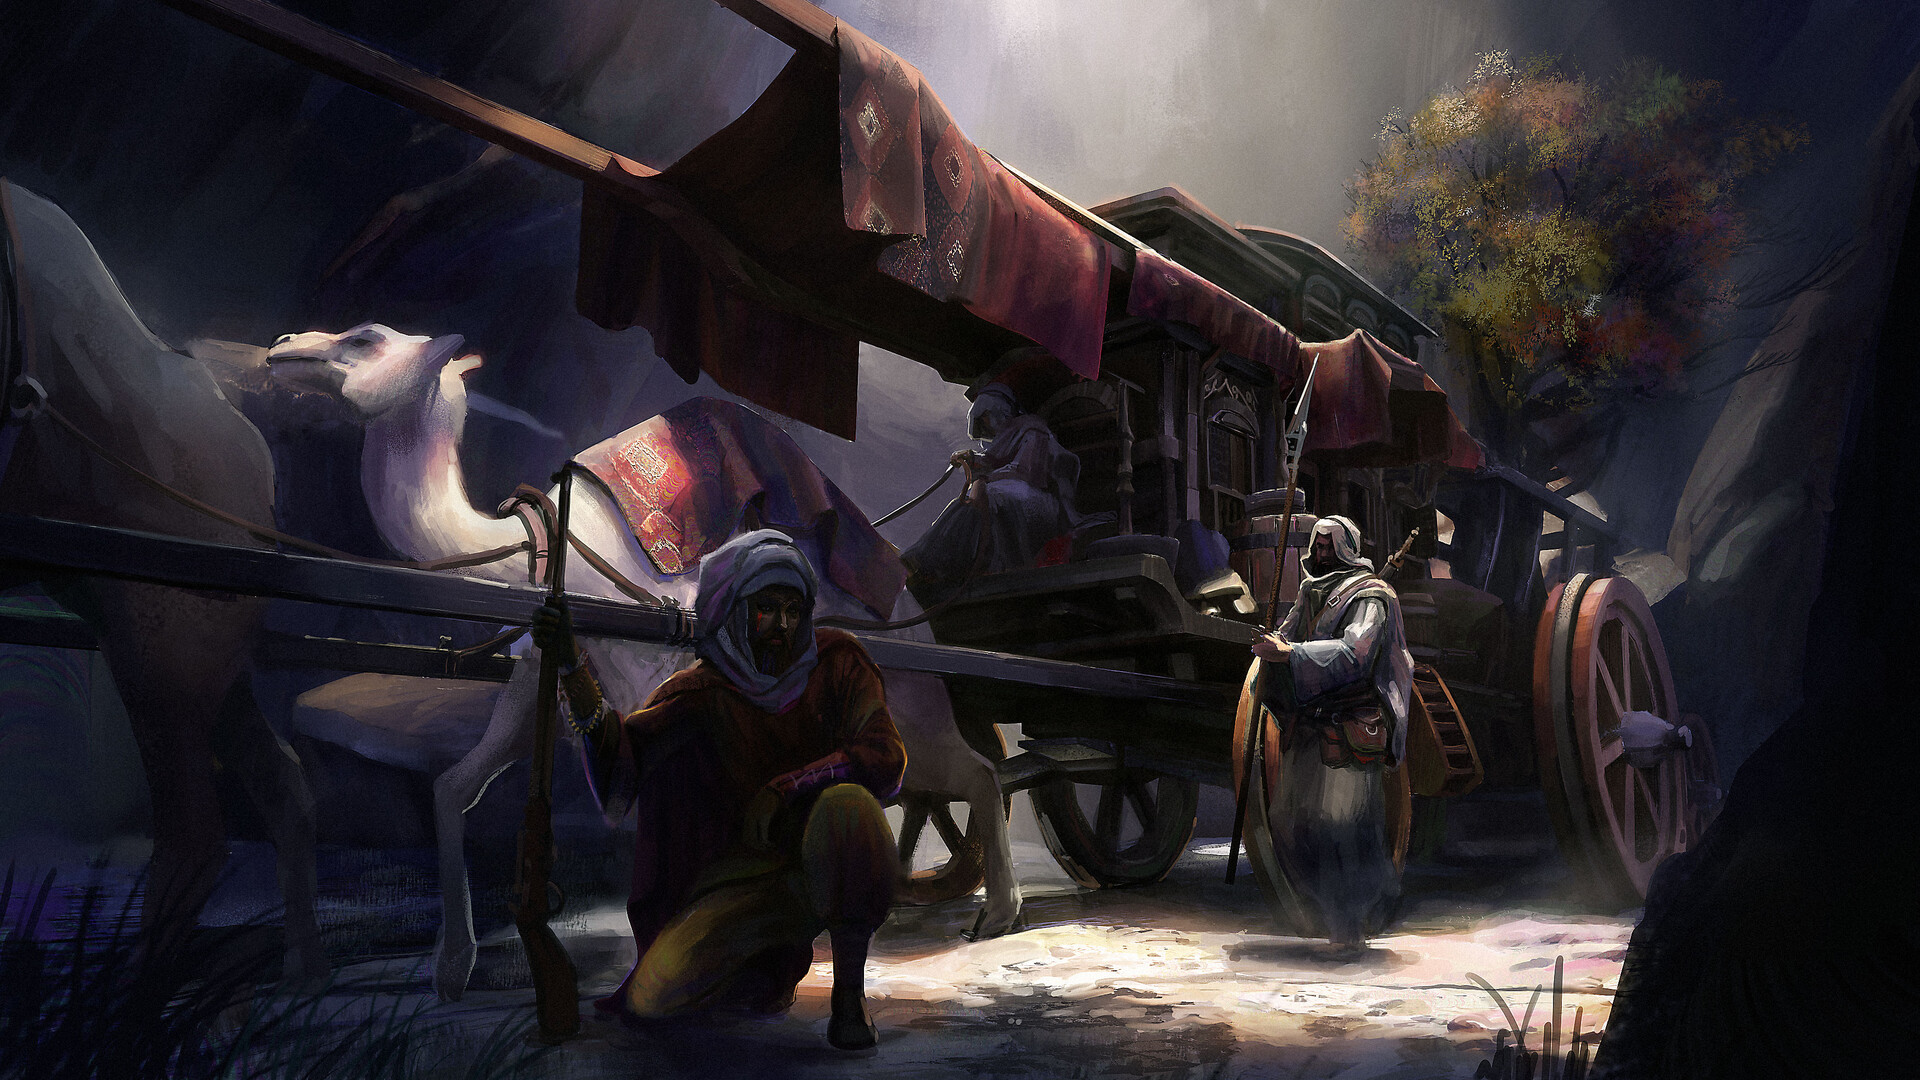
Adjust the light source, and give a cool ambiance that follows your composition into a cool and readable shot
Ajusta la fuente de luz y agrega un ambiente interesante que continué dando a tu composición una manera legible de presentarse.
HAVE FUN!
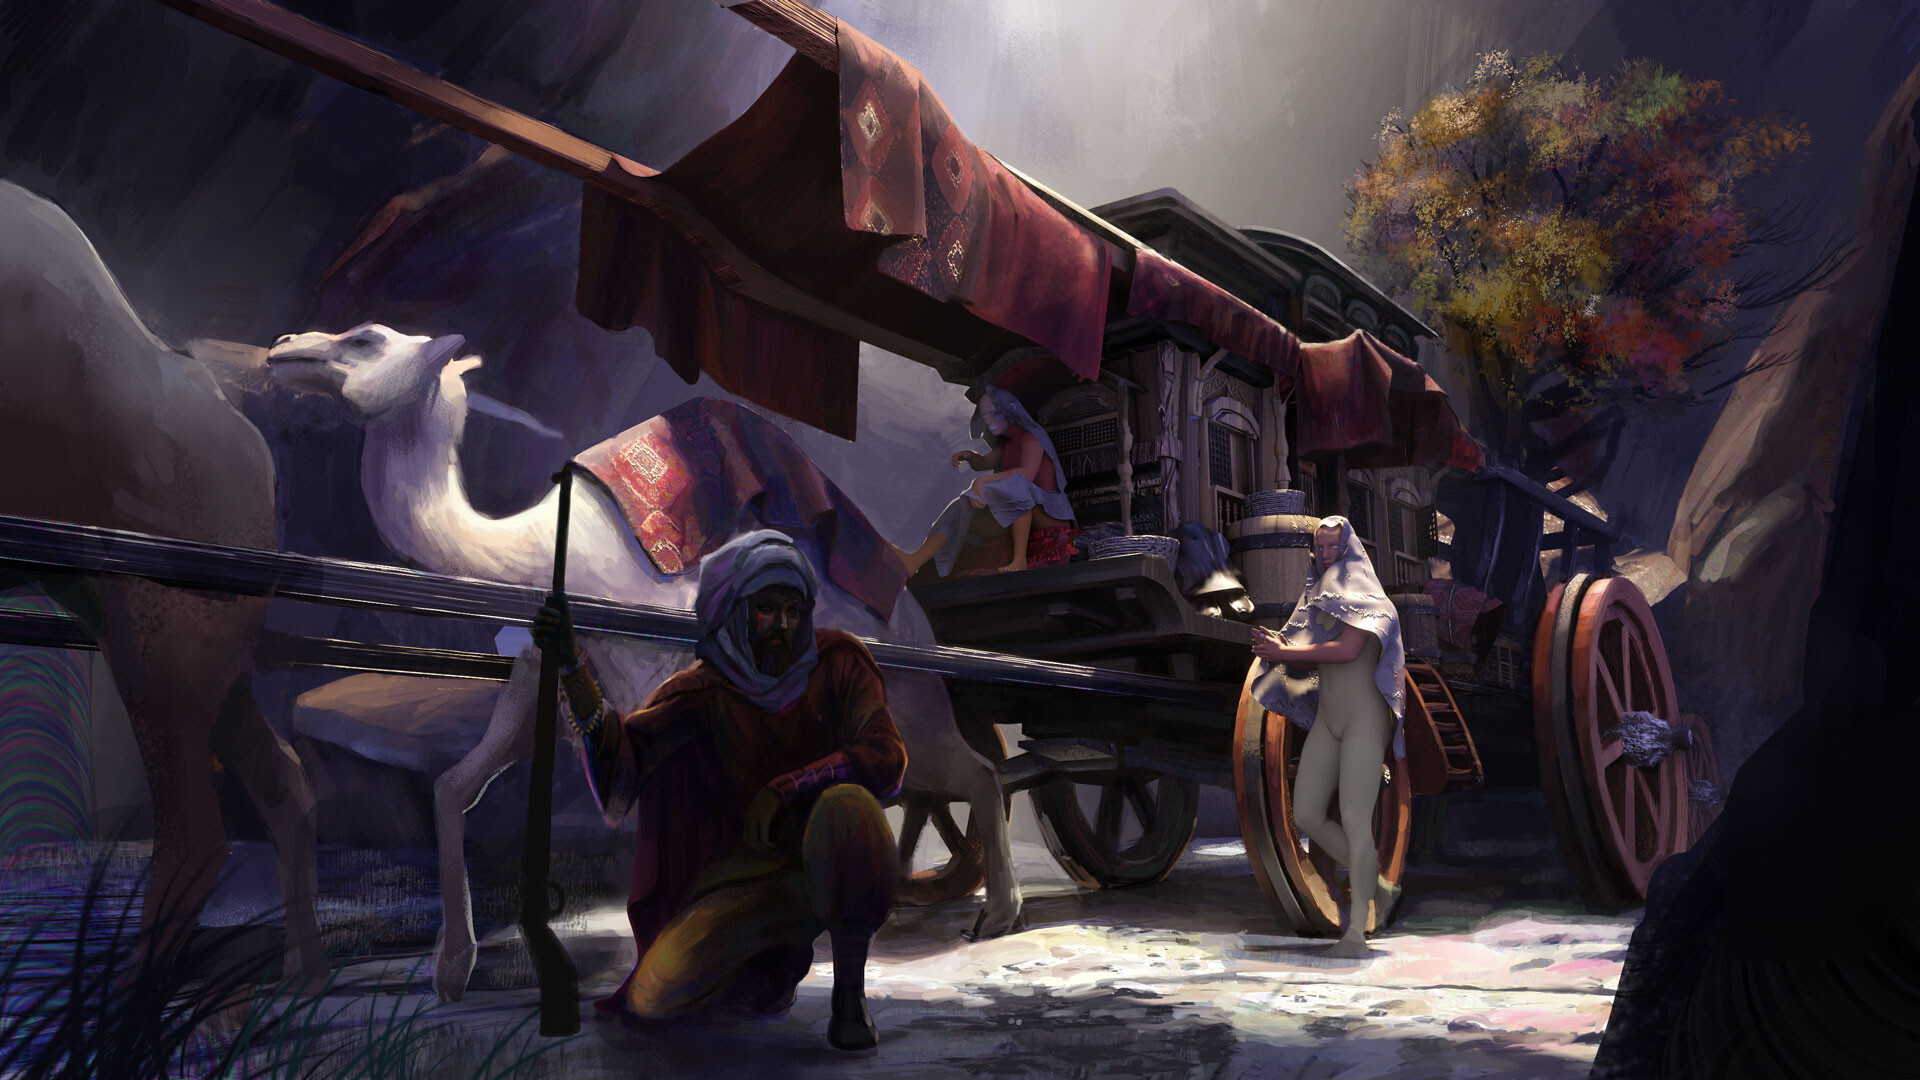
- Start to paint and make fun!, add details and go for render. I usually start to paint in a overall way, i never point an object and start detailing, i usually just go around painting everything and jump everywhere.
- Empieza a pintar y diviértete!! adicional detalles y anímate a renderizar de la manera que mas te gusta. Normalmente empiezo a pintar en una manera general. Nunca me enfoco en un solo objeto y lo detallo hasta el final sino que salto de lugar en lugar pintando de manera general.
AND ADD MORE DETAILS!!!

AND MORREEEEE DETAAAAILLLL!!!
MOARRRRRRR DETAILSSSSS!!!!!!
MORRREEEE :)
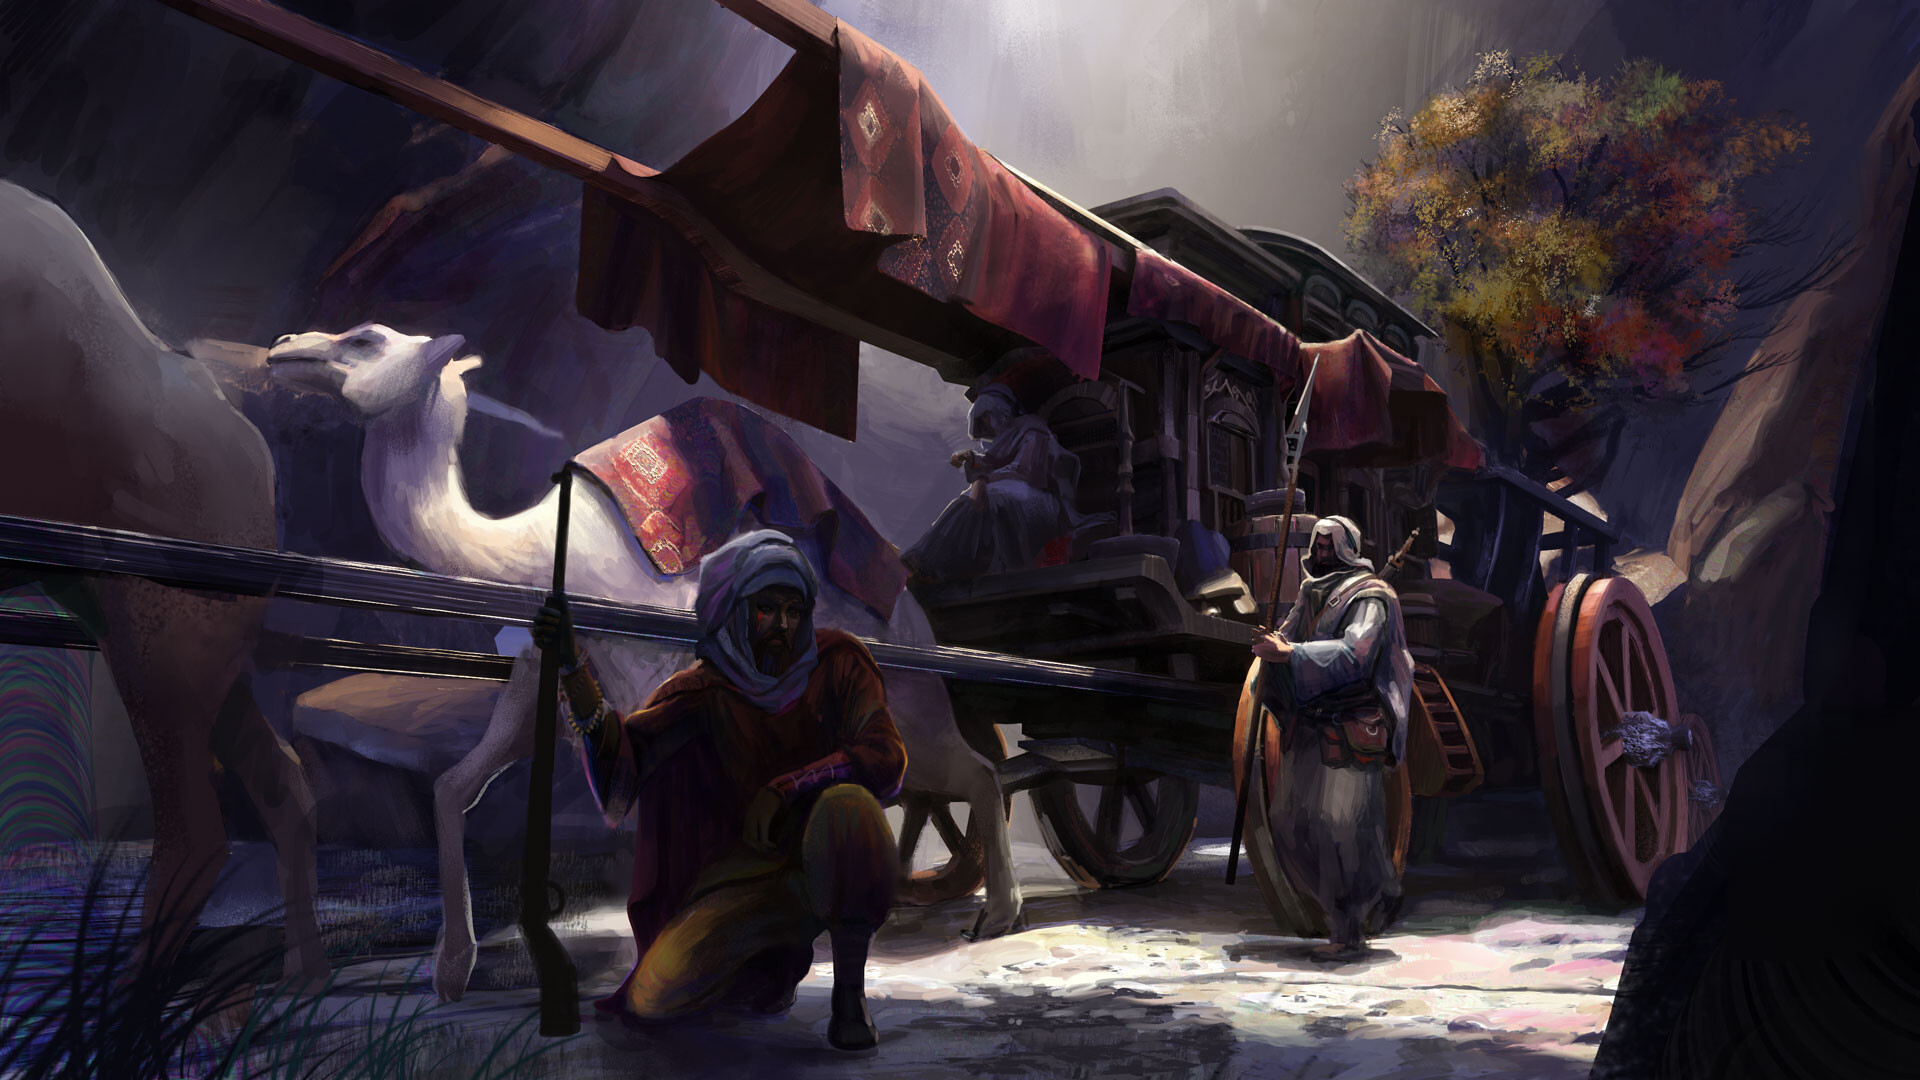
MOREEEEE!!!!!!
AND THE FINAL RESULT!!! and a color adjustment!
AND THAT'S IT!!!
conclusion!
The Massout is an amazing tool to improve the development time for a concept art piece. It is a several time saver, in the painting time, but more than that its in the chance that you have to create many explorations in a bit of time. And in the industry klevel could be a plus for directors and producers to have a quick preview of the piece that your are working on and take decisions in effective way for the project. One plus more is that allow you to focus in different aspects that often we left behind at the moment to work from Cero one concept. To think more in design, Color, Inmersion, just because you have already covered things like perspective, composition, size, etc. And last but not least, it allows you to have a cool backup from the 3D in case that you have to change the POV or point of view, in case to have to change something after an advance stage.
Hope it works for you!!
el massout en 3D es una gran herramienta para optimizar el tiempo de desarrollo de un arte conceptual o ilustración, permite un ahorro de tiempo considerable, mas que en el desarrollo de la pieza, en la posibilidad de generar mayores exploraciones en muy poco tiempo. Eso a Nivel de industria puede ser muy valioso. y para los directores o productores es un gran inicio para acertar en las decisiones que se vayan a tomar para el proyecto. Un pro adicional es que permite enfocarse mas en aspectos que normalmente se pueden dejar de lado al momento de trabajar desde 0 un concepto, pensar mas en diseño, color, inmersión; al tener cubiertas cosas como perspectiva, enfoque, composición,entre otras. Y por ultimo, permite tener un backup desde el 3D en caso de tener que cambiar de POV o punto de vista, permitiendo un desarrollo rápido en el flujo de trabajo en caso de los comunes y odiados cambios!!!
Espero les sirva de algo!!